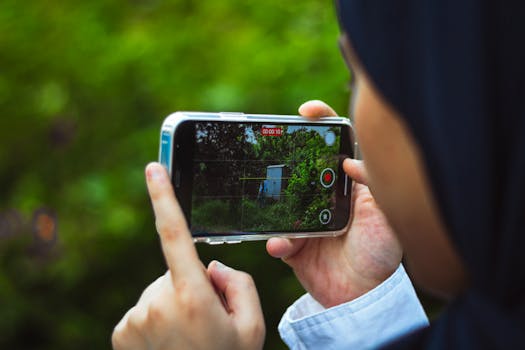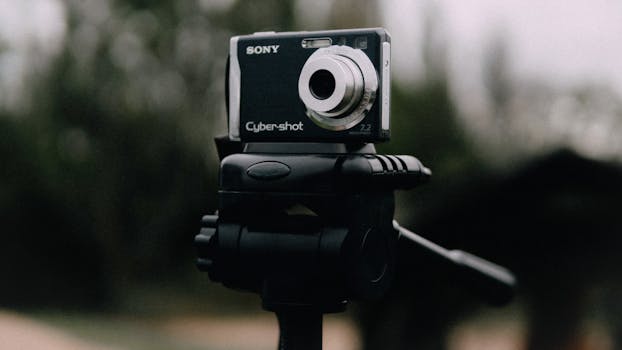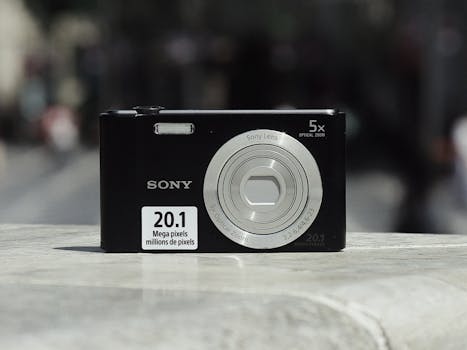
Capturing stunning photos doesn't always require the latest camera packed with a sky-high megapixel count. Many of us own smartphones or cameras with lower megapixel sensors—8MP, 12MP, or even less—and still wish to create images that pop with clarity and detail. The good news is, with the right techniques and an understanding of how digital images work, you can maximize the quality of your photos regardless of your device’s megapixel rating.
This article uncovers five actionable tips to help you get the best possible images from a low-megapixel camera. Whether you’re working with an older smartphone, a compact point-and-shoot, or rediscovering a classic digital camera, these expert strategies will boost your confidence and your results.
Understanding the Impact of Megapixels vs. Image Quality
Let’s start with a common misconception: more megapixels automatically mean better photos. While megapixels determine the maximum image resolution, they are only one factor in overall image quality. Factors like sensor size, lens quality, lighting, and software processing play equally critical roles.
For example, a 12MP photo from a large-sensor camera often looks sharper and more vibrant than a 24MP image from a budget smartphone. The reason? Larger sensors gather more light, and better optics resolve finer details.
Here’s a quick comparison of how sensor size and megapixel count can influence image quality:
| Camera Type | Typical Megapixels | Sensor Size | Low-Light Performance | Detail Level |
|---|---|---|---|---|
| Old Smartphone | 8-12MP | 1/3" | Poor | Limited |
| Modern Smartphone | 12-50MP | 1/2.5" - 1" | Fair to Good | Good |
| Compact Camera | 10-20MP | 1/2.3" - 1" | Average | Good |
| Mirrorless/DSLR | 12-24MP | APS-C or Full Frame | Excellent | Excellent |
As you can see, sensor size and processing power often matter more than just the megapixel number. But what if you’re locked into a device with a modest megapixel count? That’s where technique comes in.
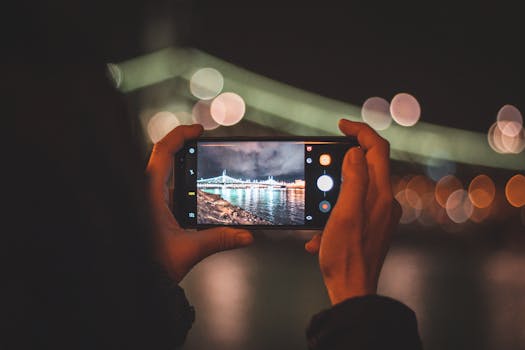
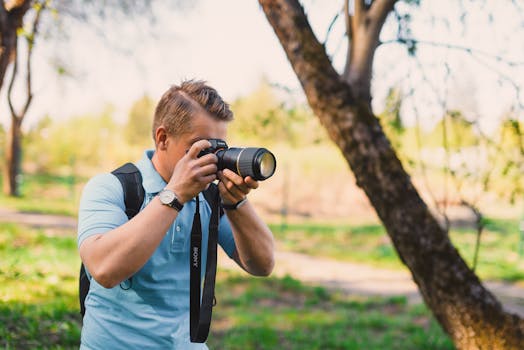
Tip 1: Master Your Lighting for Crisp Results
Lighting is the single most important element in photography, and it becomes even more crucial when working with low-megapixel sensors. These sensors capture less fine detail, so maximizing the quality of the light can help your images appear sharper and more vibrant.
- $1: Whenever possible, shoot in well-lit environments. Early morning and late afternoon (the "golden hours") provide soft, flattering light that reduces harsh shadows and highlights. - $1: Digital zoom simply crops your image, reducing effective resolution even further. Instead, move closer to your subject or crop the photo later. - $1: Low-megapixel sensors can struggle in low light. Use a tripod, prop your camera on a stable surface, or activate anti-shake features to avoid blur from hand movement.According to a 2022 survey by Statista, 87% of smartphone users said they noticed a significant improvement in photo quality when shooting in good light conditions, regardless of their phone’s megapixel count.
Tip 2: Optimize Your Camera’s Settings
Even basic cameras and smartphones offer manual settings or hidden features that can elevate photo quality. Here’s what to look for:
- $1: Always select the maximum resolution and minimal compression in your camera’s settings. Avoid “medium” or “low” quality options, which discard valuable image data. - $1: Lower ISO settings reduce digital noise. For static subjects, keep the ISO as low as possible and use a tripod if necessary. - $1: If your device allows, use manual focus and set exposure manually to prevent over- or under-exposed images. Many free camera apps unlock these controls, even on older phones.A practical example: A 10MP photo shot at maximum quality setting can print sharply up to 8x10 inches (20x25 cm), but only if the file isn’t overly compressed or blurred due to camera shake or poor focus.
Tip 3: Compose Intentionally for Maximum Impact
With fewer pixels to work with, every bit of your frame counts. Smart composition can make low-megapixel images feel more professional and visually striking.
- $1: Move closer to your subject to maximize detail. Empty space can make low-resolution images appear even smaller and less engaging. - $1: Place your subject off-center for a more dynamic composition. Most camera apps offer a grid overlay to help with this. - $1: Busy or cluttered backgrounds distract from your subject. Clean, simple backgrounds help your main subject stand out and keep the photo looking sharp.A famous example: The iconic “Lunch atop a Skyscraper” photo from 1932 was shot on a camera with a resolution far lower than modern smartphones. Yet, its powerful composition ensures it remains sharp and impactful, even when enlarged.
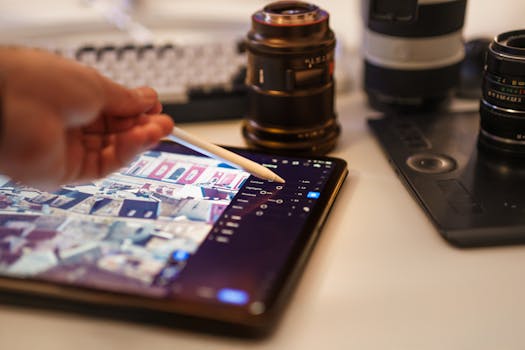
Tip 4: Enhance Photos with Post-Processing Tools
Editing is your secret weapon for improving image quality, even when starting with a low-megapixel file. Modern software can sharpen details, reduce noise, and enhance colors.
- $1: Use sharpening tools sparingly to boost crispness without introducing unwanted halo effects. Programs like Adobe Lightroom or Snapseed offer precise controls. - $1: Low-megapixel sensors, especially in older devices, often produce grainy images in low light. Noise reduction tools can smooth out these artifacts. - $1: Boosting contrast and clarity can help your subject “pop,” making the photo feel more detailed than it actually is. - $1: New AI-powered tools like Topaz Gigapixel AI or even free online upscalers can increase your image resolution while preserving quality. A 2023 test by DPReview found that AI upscaling could enlarge a 10MP image to 20MP with minimal visible quality loss, making prints up to 16x20 inches possible.Remember, subtlety is key. Over-editing can make photos look unnatural, so start with light adjustments and compare before-and-after results.
Tip 5: Output and Share Images at the Right Size
How you display and share your photos affects how sharp and detailed they appear. A low-megapixel photo can look fantastic on a smartphone screen or social media, but may disappoint when printed too large or viewed on a 4K monitor.
- $1: Export images at the optimal size for their intended use. For Instagram, 1080x1350 pixels is ideal for portrait shots. For Facebook, 2048 pixels on the longest edge maintains good quality. - $1: Avoid printing low-megapixel images larger than their intended resolution supports. As a rule, a 10MP photo prints crisply up to 8x10 inches; pushing beyond that risks visible pixelation. - $1: When uploading to websites or sharing by email, use the “sharpen for web” option in photo editors to ensure images look their best at lower resolutions.A 2021 study by PetaPixel found that most smartphone images viewed on social media are displayed at under 2MP, meaning even older cameras can produce images that look great online when properly sized and sharpened.
Why Low Megapixel Cameras Still Matter
With manufacturers touting 50MP, 100MP, or even 200MP sensors, it’s easy to overlook the merits of lower-megapixel devices. But these cameras remain relevant for several reasons:
- $1: Lower resolution means faster shooting and more images per memory card. - $1: Fewer megapixels can mean less processing lag and quicker sharing. - $1: As seen above, most online platforms and even printed albums don’t require more than 8-12MP for high-quality results.By mastering light, settings, composition, editing, and output, you can create memorable photos that defy the limitations of megapixel count.