Capturing Excellence: How to Properly Set Up a High-Megapixel Camera for Different Photography Genres
The world of high-megapixel cameras has opened new doors for photographers, enabling astonishing detail and print sizes previously unthinkable. Whether you’re shooting landscapes, portraits, wildlife, or even architecture, properly setting up your high-megapixel camera is key to unlocking its full potential. However, these powerful sensors come with their own set of challenges—unforgiving to poor technique, weak lenses, or improper settings. This guide delves into how to optimize your high-megapixel camera for various popular photography genres, ensuring every pixel counts toward your creative vision.
Understanding High-Megapixel Cameras: Capabilities and Challenges
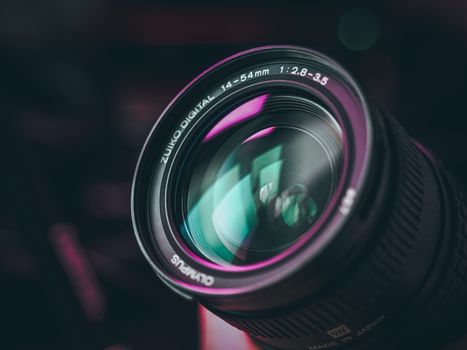
High-megapixel cameras, typically defined as those with 36 megapixels or more, are built to capture extraordinary detail. For instance, the Sony A7R V boasts a 61MP sensor, while the Canon EOS R5 offers 45MP. These sensors can resolve textures, tones, and minute elements that lower-resolution cameras simply cannot. This makes them ideal for fine art, commercial, and landscape photographers who need large, detailed prints or extensive cropping flexibility.
However, more megapixels bring unique challenges: - Image files are enormous, often exceeding 100MB in RAW format. - Lenses and technique must be top-notch to avoid revealing flaws such as lens softness or camera shake. - Storage and post-processing requirements increase significantly.According to a 2023 CIPA (Camera & Imaging Products Association) report, professional photographers using 45MP+ cameras spend an average of 25% more on storage and backups annually. Understanding these factors is the first step in setting up your camera for success across genres.
Landscape Photography: Maximizing Detail and Dynamic Range
Landscape photography thrives on detail—cloud textures, leaf veins, distant mountain ridges. High-megapixel sensors shine here, but only if you manage exposure and sharpness meticulously.
Key setup tips: - Use a sturdy tripod: Even slight vibrations become visible at high resolutions. The Manfrotto MT055CXPRO3, for example, supports up to 19.8 lbs and is a favorite among landscape professionals. - Enable mirror lock-up or use the electronic first curtain shutter to reduce vibrations (especially on DSLR systems). - Shoot at base ISO whenever possible (e.g., ISO 64 or 100) to maximize dynamic range and minimize noise. - Employ manual focus or magnified live view to ensure perfect sharpness, particularly at the corners of the frame. - Use high-quality, sharp lenses. Tests by DxOMark show that with a 61MP sensor, lens sharpness differences between high-end and budget lenses are more pronounced.A graduated ND filter can also help balance exposures between sky and land, making the most of the camera’s dynamic range and pixel count.
Portraiture: Harnessing Resolution While Managing Skin Detail
In portraiture, the ultra-high resolution of a modern sensor can be both a blessing and a curse. While you can capture the finest details in hair, eyes, and clothing, you also risk revealing every pore and blemish.
Setup strategies: - Use prime lenses with smooth, pleasing bokeh (such as an 85mm f/1.4 or f/1.2) to separate your subject from the background and soften distractions. - Select an aperture between f/2 and f/4 for most portraits. This provides a sharp subject with a gently blurred background while avoiding the ultra-shallow depth of field that can render eyelashes in focus but noses and ears soft. - Employ soft, diffused lighting—natural window light or a softbox—to minimize harsh shadows and excessive skin texture. - Consider using in-camera portrait profiles or skin smoothing features if your camera offers them. For example, the Nikon Z7 II includes Picture Controls designed for flattering skin tones. - Use eye-detection autofocus to ensure focus is locked precisely on the subject’s eye, essential with high-resolution sensors.High-megapixel files also give you the flexibility to crop for tighter compositions without sacrificing print quality, ideal for environmental or studio portraits.
Wildlife and Action: Balancing Speed with Resolution
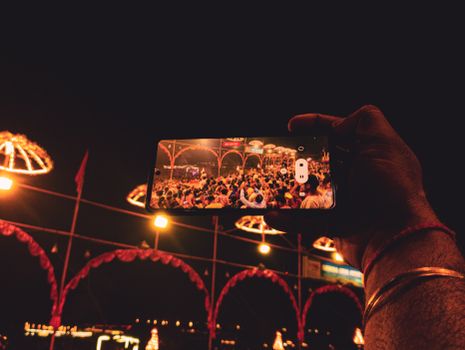
High-megapixel cameras are not just for static subjects. With the right setup, they excel in wildlife and action photography, allowing for significant cropping and detailed prints. However, they demand fast shutter speeds and precise technique.
Setup essentials: - Shoot at shutter speeds at least double the focal length to freeze motion. For example, with a 400mm lens, use 1/800s or faster. - Use continuous autofocus with subject tracking—modern high-resolution cameras like the Canon EOS R5 (45MP) offer sophisticated animal and eye-tracking features. - Set your camera to high-speed burst mode, but be mindful that buffer capacity can fill quickly due to large file sizes. Using fast storage cards (e.g., CFexpress) is crucial. - Adjust ISO sensitivity to maintain fast shutter speeds, but remember that high-megapixel sensors can reveal noise more readily, especially if underexposed. - Reduce your RAW file size if your camera allows (e.g., by shooting in lossy RAW or small RAW formats) when ultimate resolution isn’t necessary for every shot.A 2022 survey by Nature Photographers Network found that 67% of wildlife photographers using 40MP+ cameras routinely crop their images, highlighting the value of high resolution in this genre.
Architecture and Product Photography: Precision and Consistency
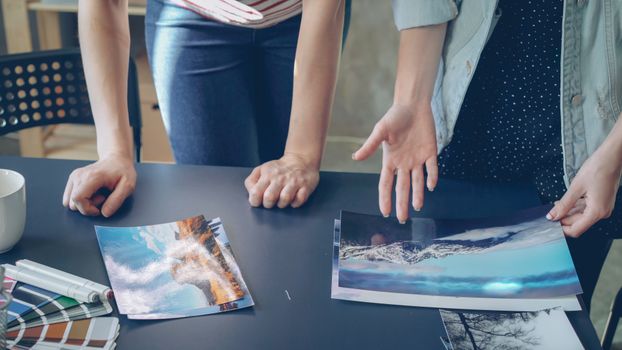
For architectural or product photography, high-megapixel cameras are indispensable for capturing intricate details, textures, and maintaining straight lines. Here, precision setup and lens selection are paramount.
Best practices: - Use tilt-shift lenses when shooting architecture to correct for perspective distortion and maximize sharpness across the frame. - Level your camera using built-in electronic levels to keep lines straight—crucial for interiors and exteriors alike. - Employ focus stacking for products or interiors where extended depth of field is needed. Many high-megapixel cameras, like the Nikon Z8, include automated focus stacking features. - Set white balance manually or use a gray card to ensure color accuracy, which is especially important for product photography where colors must match the real item. - Use tethered shooting to a laptop or tablet for immediate review of fine details and focus, minimizing the risk of missed flaws.A 2023 study by the American Society of Media Photographers (ASMP) found that over 80% of commercial photographers prefer cameras with at least 40MP when shooting products or architecture, underlining the importance of detail and accuracy.
Comparing Setups for Different Genres: A Quick Reference
To help photographers navigate setup differences, here’s a comparison table outlining the optimal settings and accessories for high-megapixel cameras across major genres:
| Genre | Key Setting | Essential Gear | Special Tip |
|---|---|---|---|
| Landscape | ISO 64-100, f/8-f/11, manual focus | Sturdy tripod, graduated ND filter | Use mirror lock-up or electronic shutter |
| Portrait | f/2-f/4, eye-AF, soft lighting | Fast prime lens, reflector/softbox | Enable skin tone profiles |
| Wildlife/Action | 1/800s+, continuous AF, high burst | Telephoto lens, CFexpress card | Consider smaller RAW files |
| Architecture/Product | f/8-f/16, manual WB, focus stacking | Tilt-shift lens, bubble level | Shoot tethered for review |
Final Thoughts: Getting the Most from Your High-Megapixel Camera
A high-megapixel camera is a remarkable tool, but its full potential is realized only with careful setup tailored to the genre at hand. From maximizing stability for landscapes to mastering autofocus for wildlife, each genre demands a unique approach. Investing in quality lenses, practicing good technique, and understanding your camera’s features will ensure you capture images that truly take advantage of every pixel. As technology continues to advance, the opportunities for high-resolution photography are only expanding—make sure you are prepared to harness them fully.