Capturing True Colors: How to Properly Utilize White Balance in High-Resolution Photography
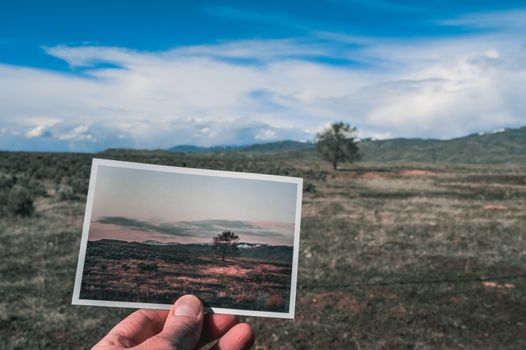
High-resolution photography is all about detail: razor-sharp images, vibrant colors, and the kind of clarity that allows viewers to feel as if they’re stepping into the scene themselves. But while many photographers obsess over megapixels and sensor size, there’s another crucial element that can dramatically impact the authenticity and quality of your images—white balance. Whether you’re shooting landscapes at golden hour or portraits in the studio, mastering white balance is essential for achieving natural-looking, true-to-life colors in high-resolution photos.
In this article, we’ll explore how white balance affects high-resolution photography, why its importance is magnified with increased image detail, and practical techniques for ensuring your colors are always spot-on. We’ll also compare the impact of different white balance settings, discuss advanced methods like custom calibration, and tackle common pitfalls to help you make the most of every pixel.
Why White Balance Matters More in High-Resolution Photography
White balance is the camera’s way of interpreting the color temperature of light in a scene. In simple terms, it tells your camera what “white” should look like under different lighting conditions—daylight, tungsten, fluorescent, and beyond. The goal is to ensure that whites appear truly white, and all other colors remain accurate.
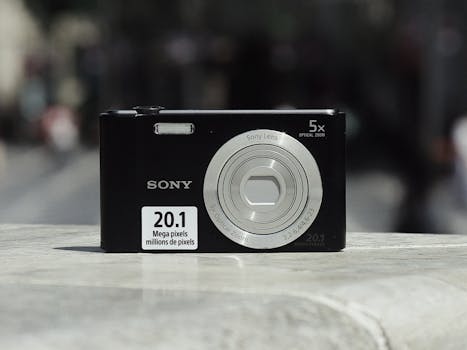
With high-resolution cameras (think 30 megapixels and above), any color inaccuracy is magnified. Here’s why:
- Detail Amplifies Errors: A 45-megapixel sensor captures subtle color shifts that a lower-resolution camera might gloss over. If your white balance is off, every pixel will show it, making color casts more obvious. - Post-Processing Flexibility: High-res images allow for more aggressive editing, but correcting color issues after the fact is never as effective as getting it right in-camera. Poor white balance can lead to loss of detail when trying to fix color later. - Print and Display Quality: When printing large-format photos or displaying them on 4K/8K screens, even minor color inaccuracies become noticeable. According to a 2023 survey by the Imaging Resource, 61% of professional photographers cited accurate color reproduction as the top priority for high-res work.In short, nailing your white balance isn’t just a technical detail—it’s fundamental to the visual impact and professional quality of your photography.
Understanding Color Temperature: The Foundation of White Balance
Color temperature is measured in Kelvins (K) and describes the warmth or coolness of light. Here’s a quick overview of common lighting scenarios:
- Candlelight: 1,800K (very warm, orange cast) - Incandescent bulbs: 2,700K – 3,200K (warm, yellowish) - Daylight: 5,000K – 5,500K (neutral) - Overcast sky: 6,500K – 8,000K (cool, blueish) - Shade: 7,000K – 9,000K (cooler, blue cast)When your camera’s white balance matches the scene’s color temperature, you get natural-looking colors. If it’s mismatched, you’ll see unwanted color casts—think orange skin tones indoors or blue-tinted snow.
Most high-resolution cameras offer several white balance presets (Auto, Daylight, Cloudy, Tungsten, Fluorescent, Shade) and the ability to manually set the Kelvin value. Understanding these options is the first step toward mastering color accuracy.
Comparing White Balance Modes: Auto, Presets, and Custom Settings
Choosing the right white balance mode can make or break your high-resolution photos. Here’s a comparison of the most common options:
| Mode | How It Works | Best For | Potential Drawbacks |
|---|---|---|---|
| Auto White Balance (AWB) | Camera analyzes the scene and guesses the color temperature | Quick shooting, changing lighting conditions | Can be fooled by dominant colors; less reliable with mixed lighting |
| Presets (Daylight, Cloudy, Tungsten, etc.) | Fixed values for common lighting types | Consistent environments (sunny, cloudy, indoor) | May not match unique or mixed lighting scenarios |
| Custom White Balance | User sets balance using a reference (gray card or white object) | Critical color work, studio, product, portrait photography | Requires setup time and a neutral reference object |
| Kelvin (Manual Temperature) | User dials in exact color temperature value | Fine-tuning in tricky conditions | Needs experience to judge color temp accurately |
According to a 2022 DPReview poll, 48% of professionals use custom white balance for high-resolution work, while only 21% rely on Auto. This highlights the importance of taking control, especially when image quality and color accuracy are paramount.
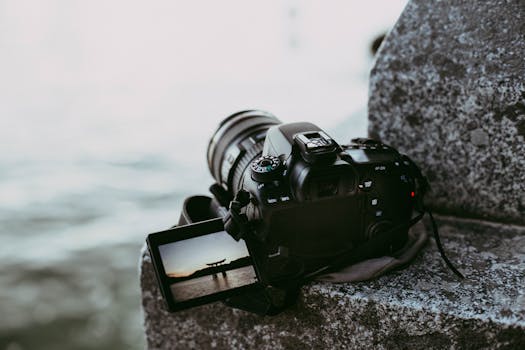
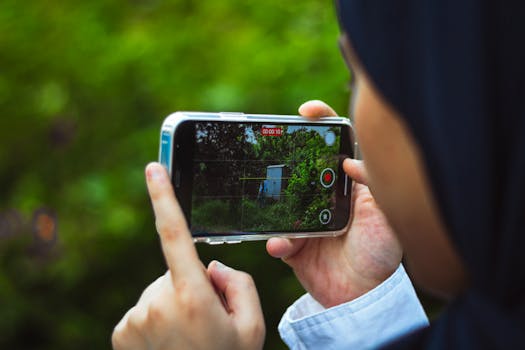
How to Set the Perfect White Balance: Step-by-Step Techniques
Achieving precise white balance in high-resolution photography involves both camera technique and a bit of preparation. Here’s how to do it right:
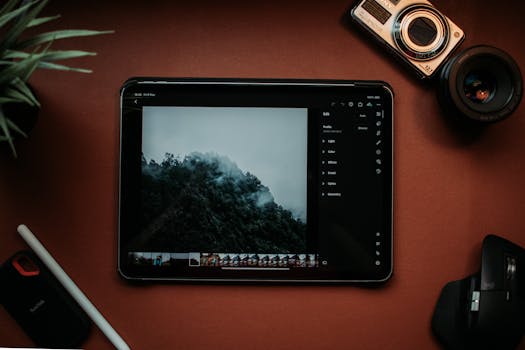
1. $1 Always capture high-res images in RAW format. RAW files store full color data, allowing for non-destructive white balance adjustments in post-processing. JPEGs bake the white balance in, limiting your flexibility. 2. $1 For custom white balance, photograph a gray card or pure white object under your shooting light. Most cameras let you set this as the reference point, ensuring true color accuracy. 3. $1 If you know the lighting’s color temperature, set it manually. For example, use 5,500K for daylight, or adjust up/down based on warmth or coolness. 4. $1 Preview your shots and use the histogram to spot color shifts. If whites look tinted or the image feels unnatural, adjust white balance and reshoot. 5. $1 Some high-end cameras offer white balance bracketing—taking multiple shots at different color temperatures. This is especially useful in mixed lighting or tricky environments. 6. $1 In high-res product or portrait work, keep lighting and white balance consistent for every shot. Even minor shifts can become glaringly obvious when images are viewed or printed side-by-side.Real-world example: A product photographer shooting jewelry with a 50MP camera found that using a custom white balance with a gray card eliminated the blue cast that Auto WB introduced, preserving the true color of gemstones for catalog printing.
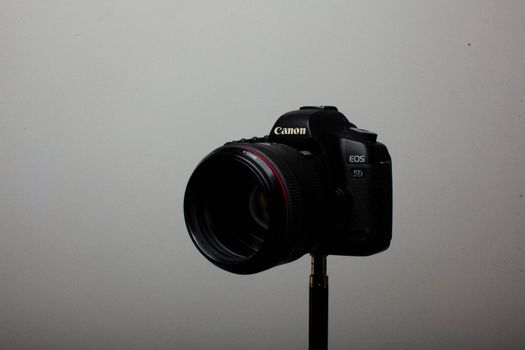
Advanced White Balance Techniques for Pro Results
High-resolution work often demands more than basic settings. Consider these advanced strategies:
- $1 Some cameras (like the Canon EOS R5 or Nikon Z9) allow different white balances for ambient and flash. This is invaluable when balancing daylight with flash fill or studio strobes. - $1 Tools like the X-Rite ColorChecker Passport let you create camera profiles for different lighting conditions. In 2023, a study by PetaPixel showed that calibrated white balance reduced color correction time in post by up to 37%. - $1 Connect your camera to a computer and adjust white balance in real time using professional software. This is standard practice in commercial studios for absolute color control. - $1 Even with the best in-camera settings, some scenes require adjustment. Adobe Lightroom and Capture One allow you to sync white balance settings across multiple high-res files for consistency.These methods, while more involved, yield the color accuracy demanded by advertising, fashion, and fine art photography—fields where a single hue shift can undermine a project.
Common White Balance Mistakes and How to Avoid Them
Even experienced photographers can fall into white balance traps. Here are some of the most frequent issues in high-resolution photography, and how to sidestep them:
- $1 Shooting in a room with both daylight and tungsten bulbs? Auto or preset modes often struggle. Always assess the scene and use custom or Kelvin adjustment. - $1 “I’ll fix it in Lightroom” is a dangerous mantra. While RAW helps, excessive white balance changes can cause banding and loss of detail, especially in high-res shadow and highlight areas. - $1 After a custom white balance for one scene, it’s easy to forget to switch back, leading to color casts in later shots. Always double-check before moving to a new environment. - $1 Camera screens are small and not color-calibrated. Use histograms and, when possible, a calibrated monitor for critical color work.By being mindful of these pitfalls, you’ll prevent common errors that can compromise the impact of your high-resolution images.
Mastering White Balance for Stunning High-Resolution Results
In today’s world of 40, 50, even 100-megapixel cameras, every detail matters—including color. Properly utilizing white balance elevates your high-resolution photography from technically impressive to truly professional, ensuring that every pixel tells the story as you intended.
From understanding color temperature basics to leveraging advanced calibration tools, investing time in white balance pays dividends in post-production efficiency, print quality, and visual impact. Remember: while high resolution gives you more data, it also demands greater attention to accuracy. By mastering white balance, you guarantee that your images don’t just look sharp—they look real.